Axon Shopifyアプリとの連携
ShopifyとAxon Adsを連携するには、以下の手順に従ってください。
-
Axon Ads Managerにログインします。
-
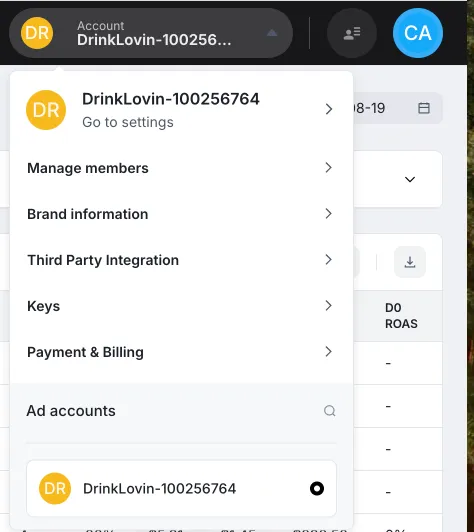
ページ上部のバーにあるアカウント名をクリックします。 ドロップダウンメニューが表示されたら、<UILabel>Third Party Integration</UILabel>を選択します。
-
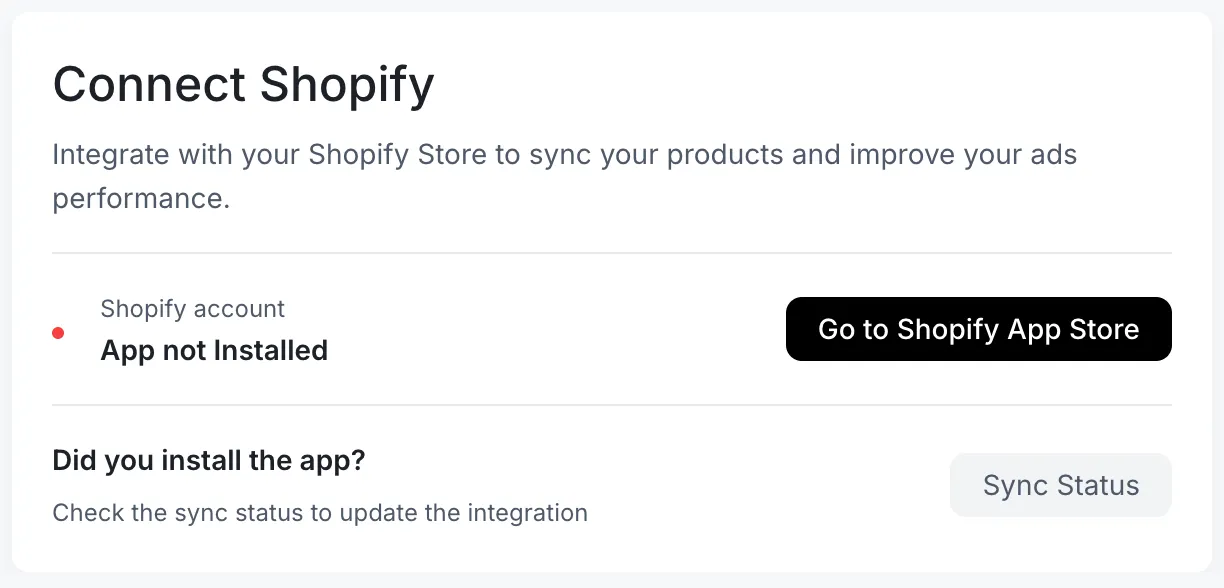
<UILabel>Connect Shopify</UILabel>ページが表示されます。 <UILabel>Go to Shopify App Store</UILabel>をクリックして、アプリのインストールを開始します。
-
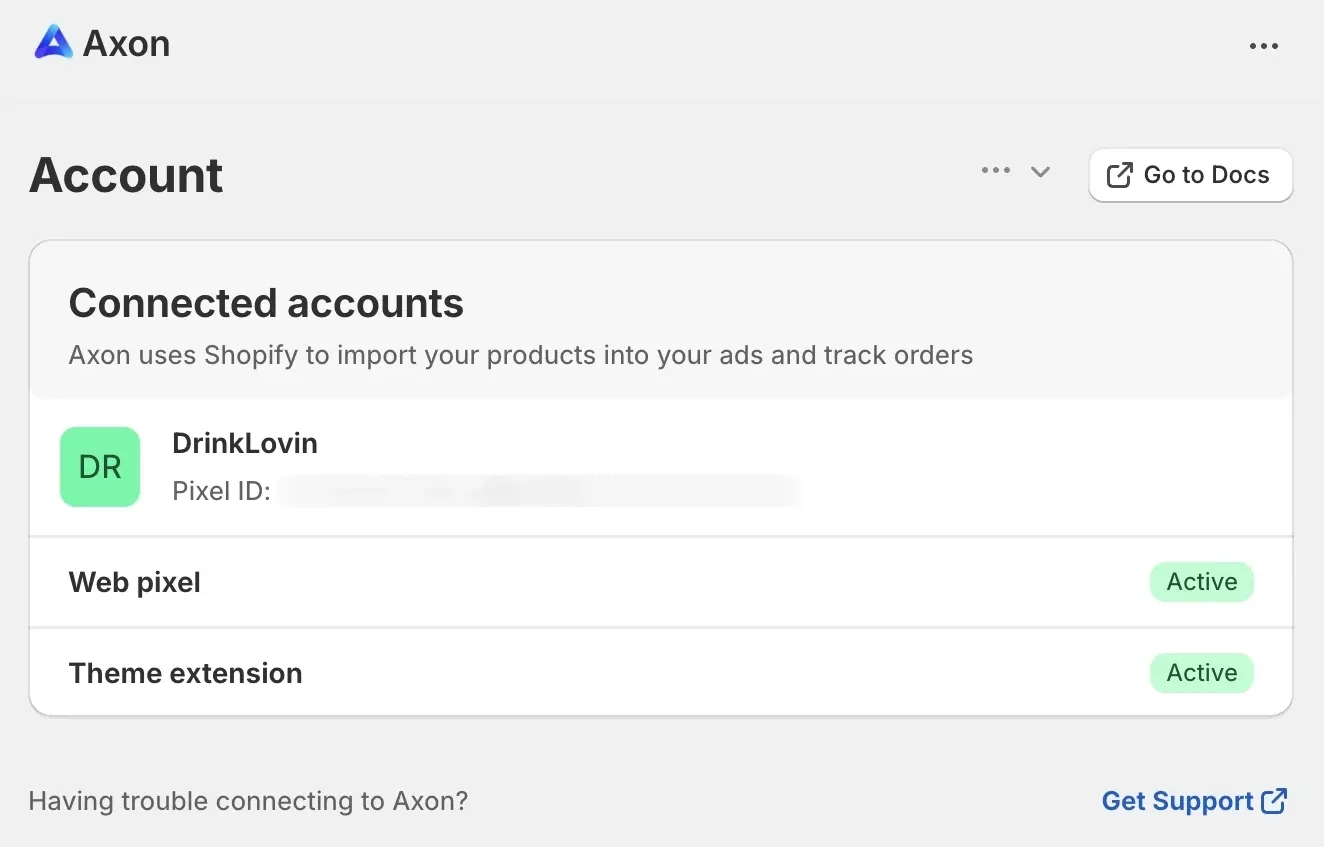
Shopifyアプリをインストールしたら、アプリの指示に従って連携を完了します。
-
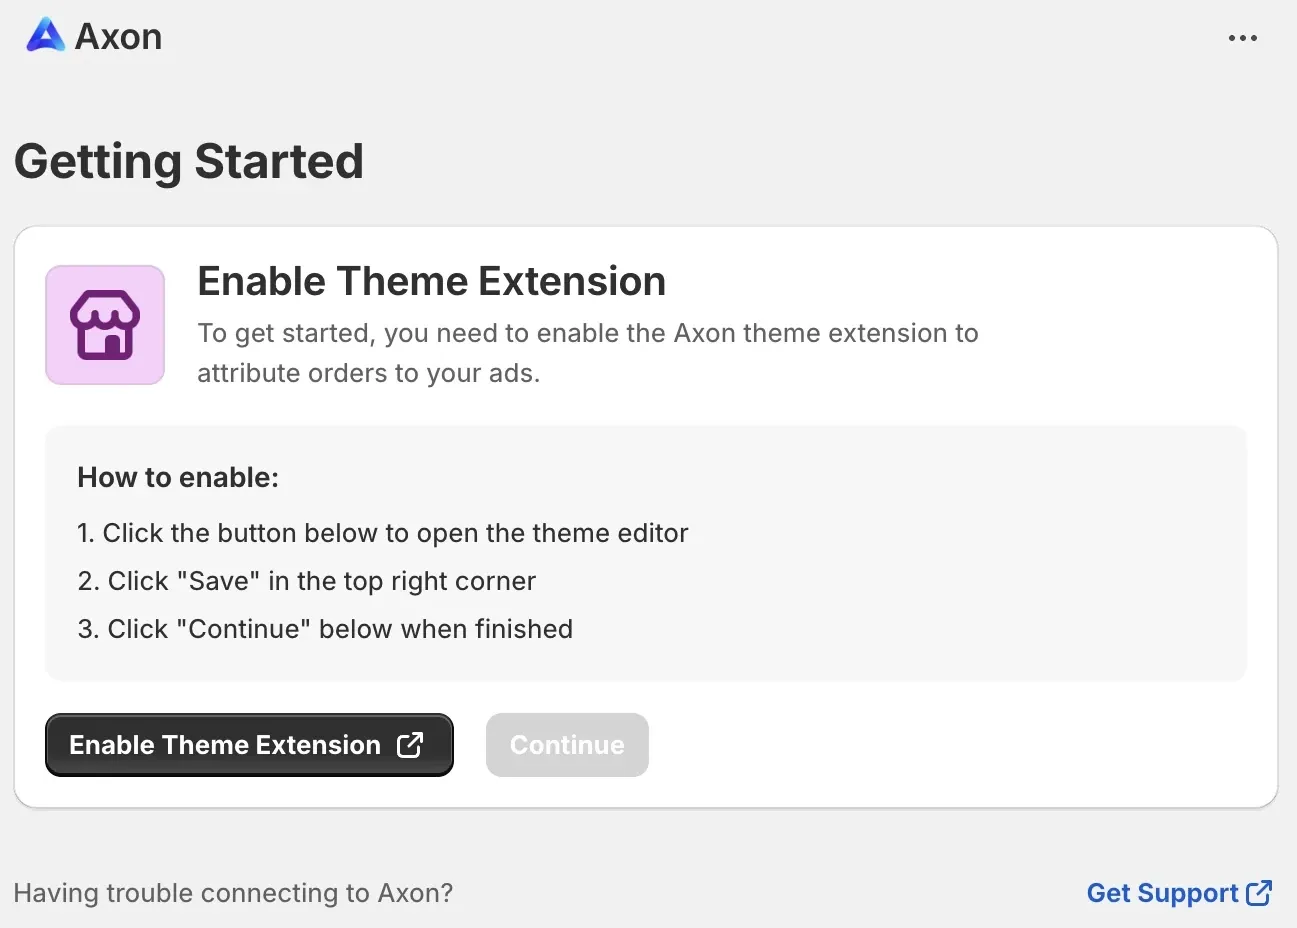
<UILabel>Enable Theme Extension</UILabel>をクリックします。
-
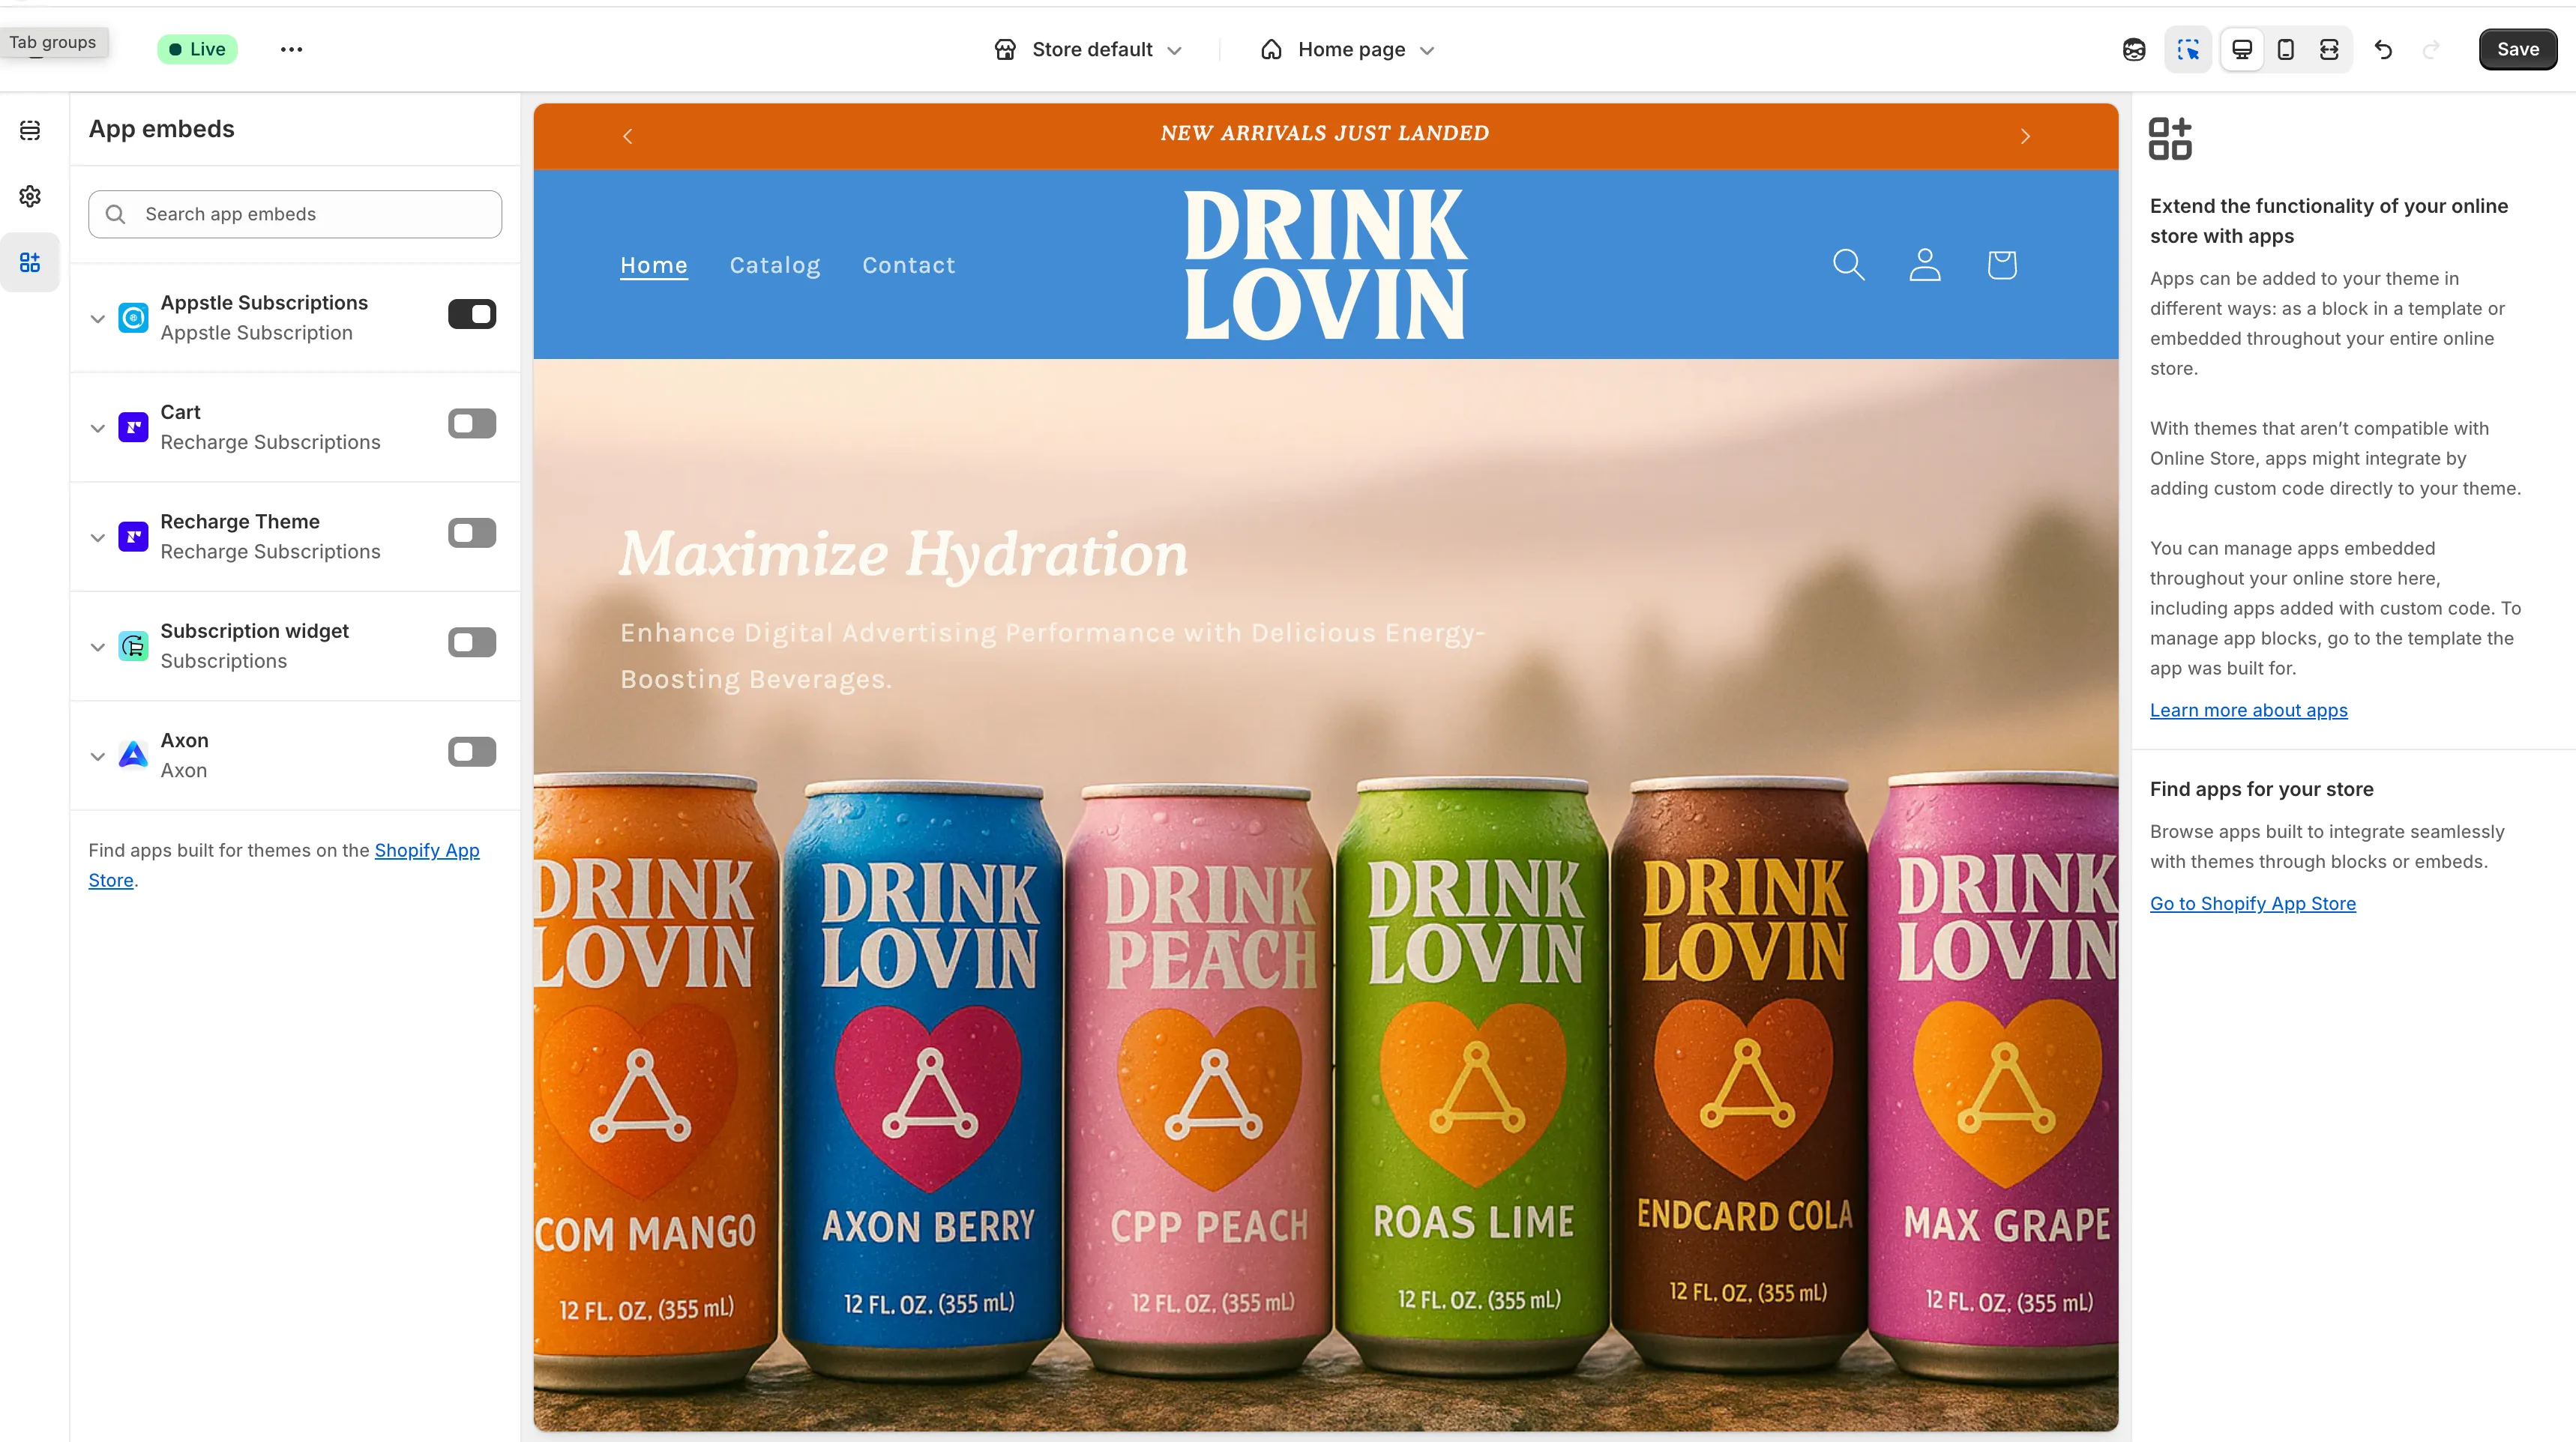
<UILabel>Save</UILabel>をクリックします。
-
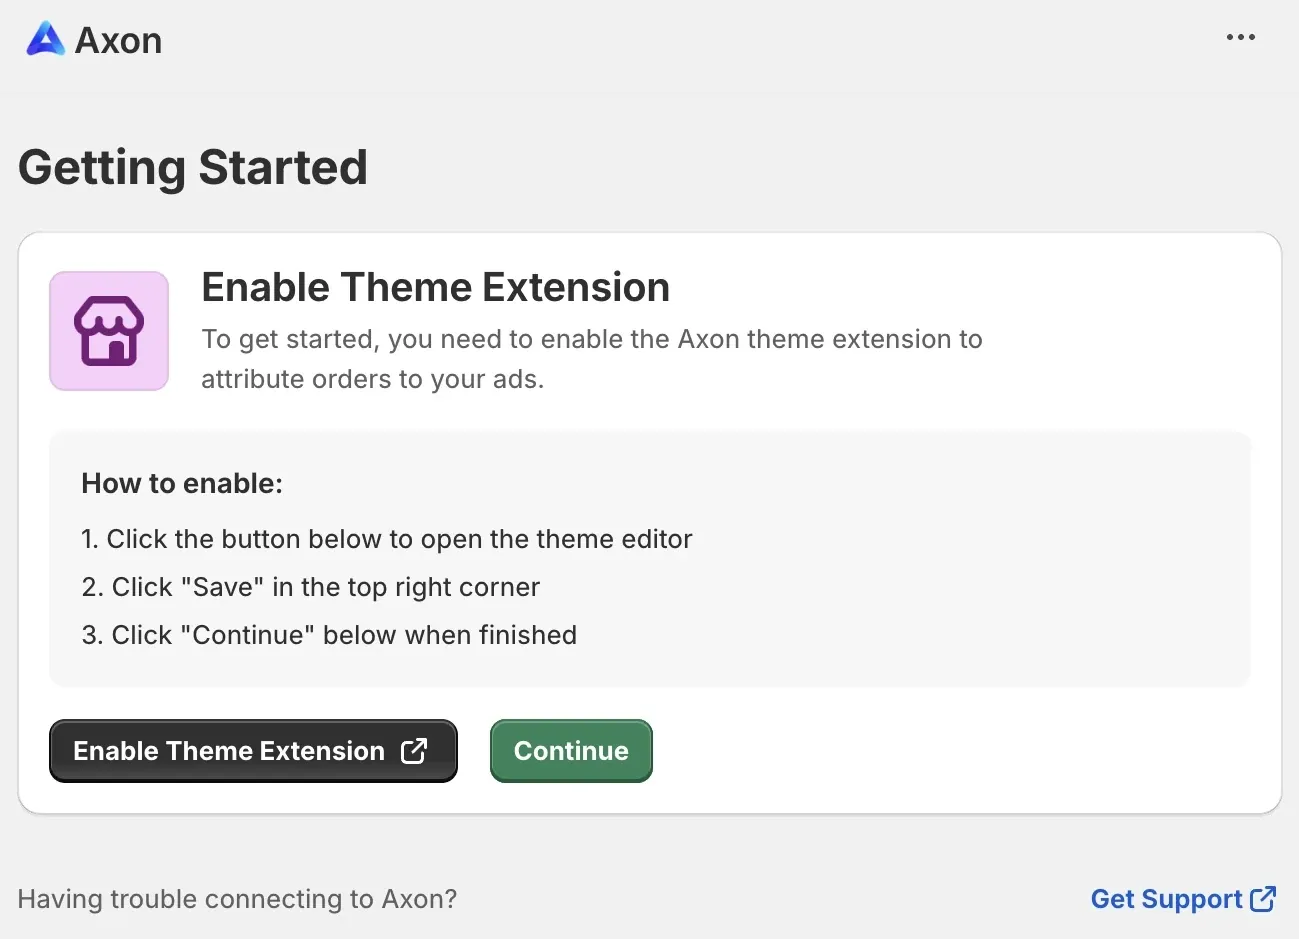
<UILabel>Continue</UILabel>をクリックします。
-
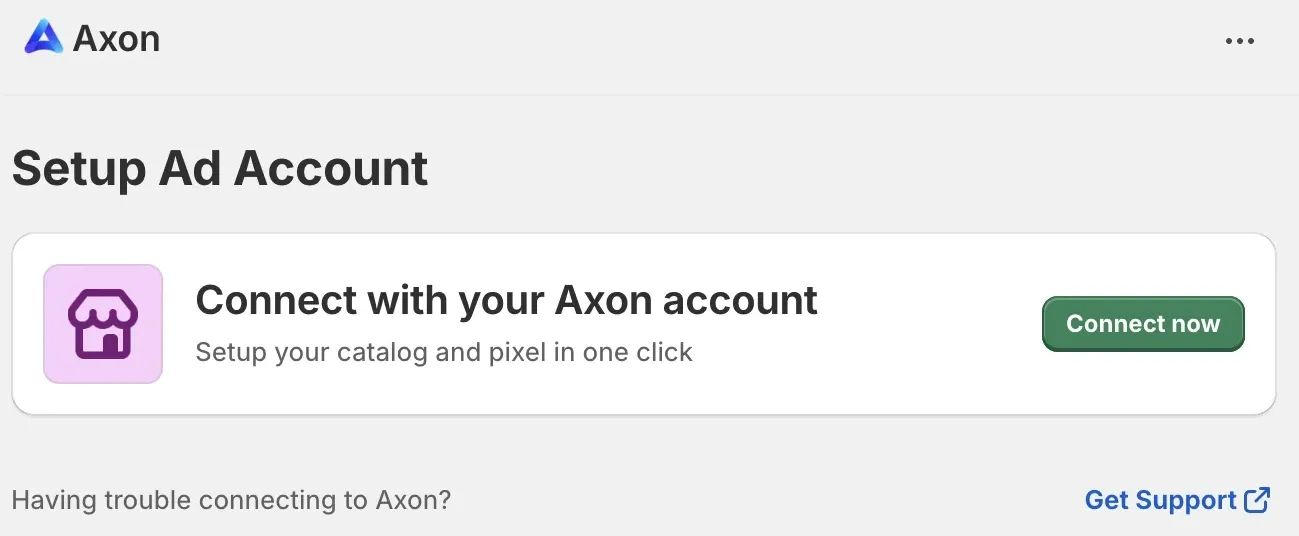
<UILabel>Connect now</UILabel>をクリックします。
-
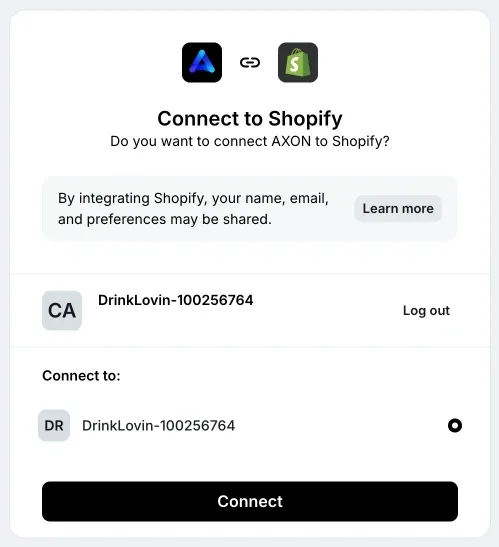
アカウントを選択して、<UILabel>Connect</UILabel>をクリックします。
-
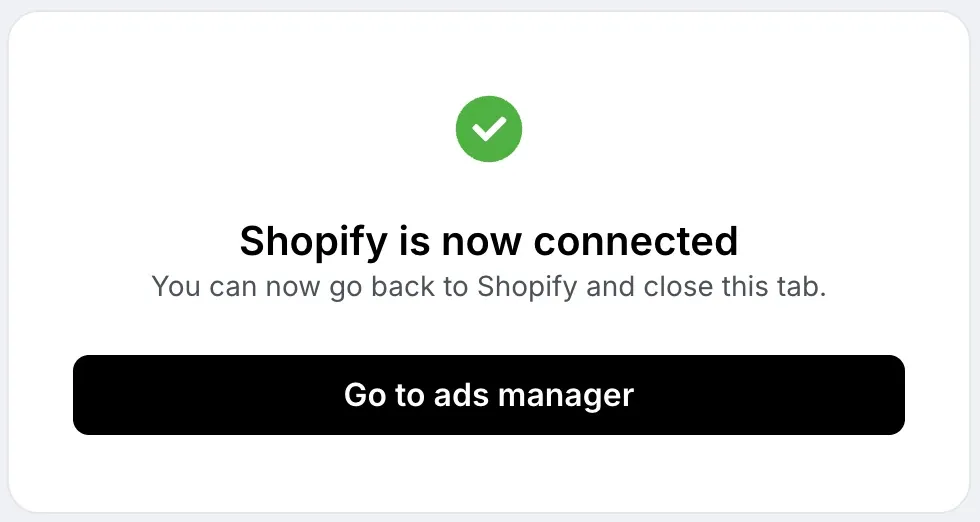
これで連携が完了します。