Axon × Shopify 应用集成
请按照以下说明集成 Shopify 与 Axon Ads:
-
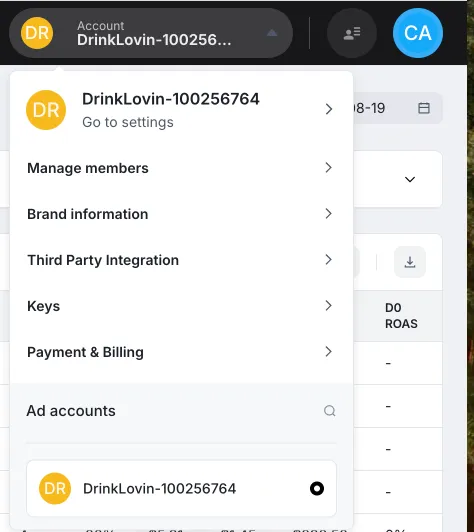
登录 Axon Ads Manager。
-
点击页面顶部栏中的账户名称。 在出现的账户下拉菜单中,选择 <UILabel>Third Party Integration</UILabel>。
-
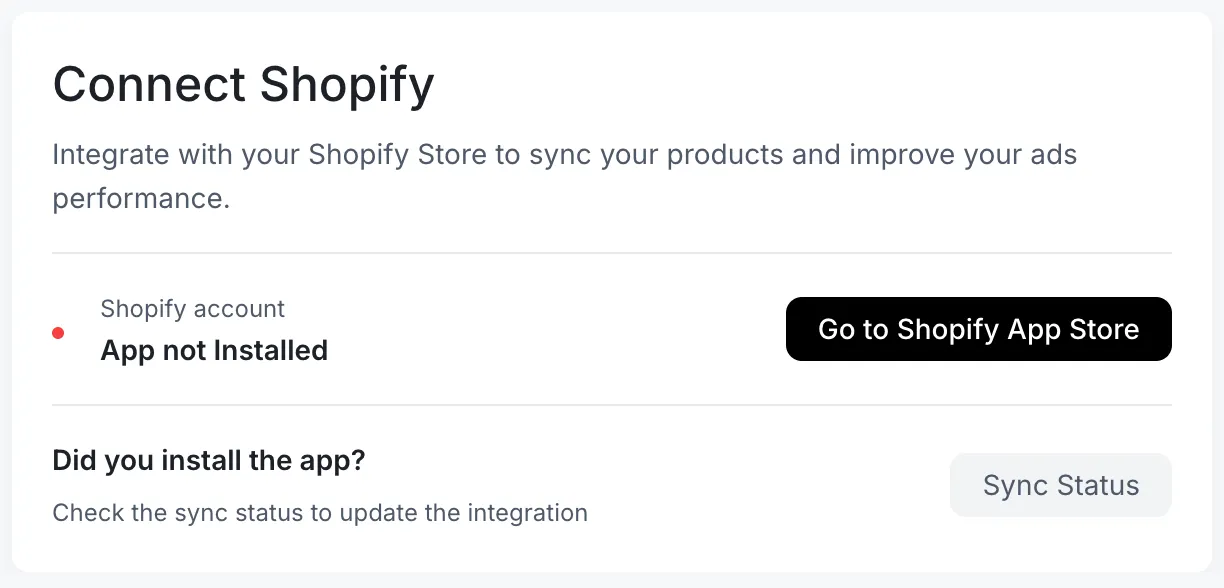
此时会出现 <UILabel>Connect Shopify</UILabel> 页面。 点击 <UILabel>Go to Shopify App Store</UILabel>,开始安装应用。
-
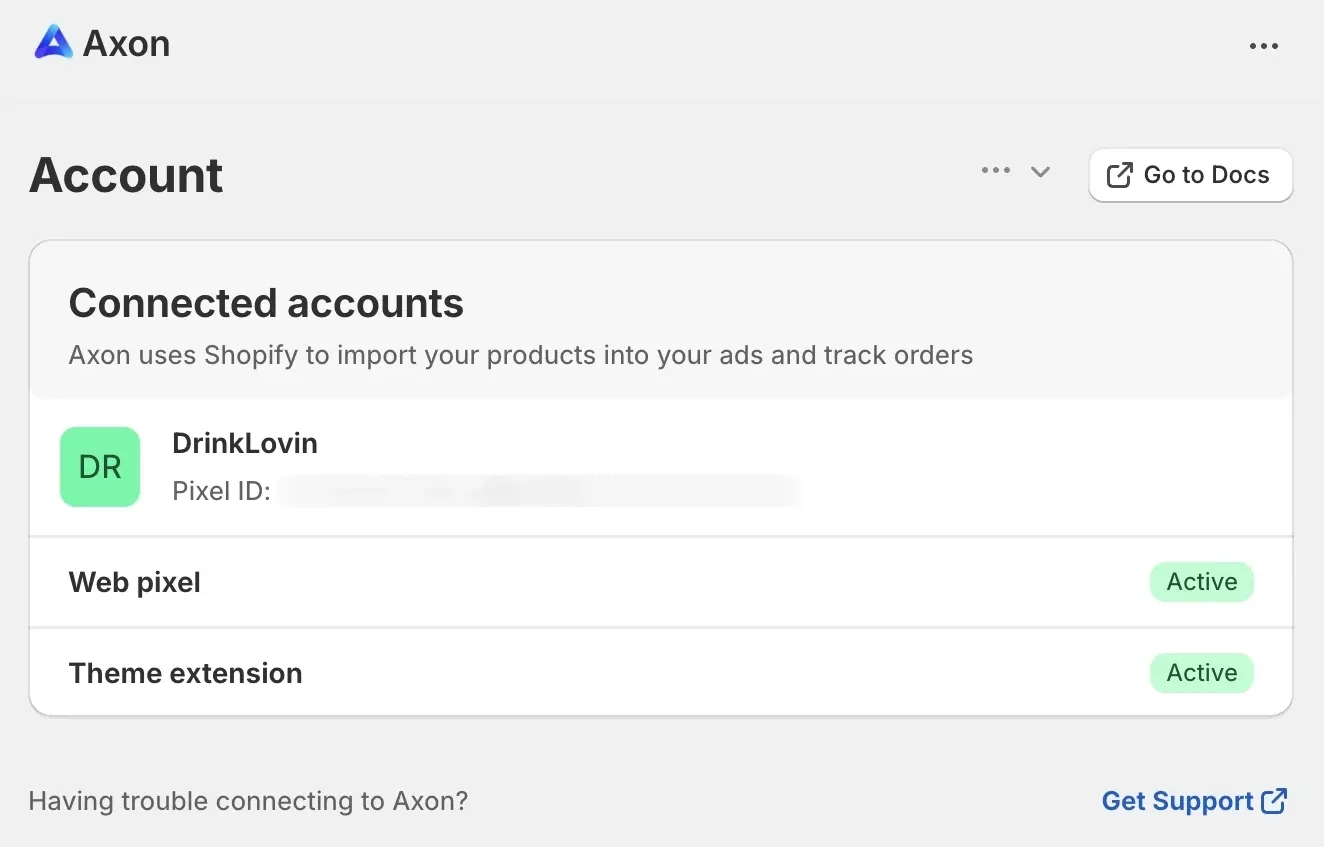
安装 Shopify 应用后,按照应用中的说明完成集成:
-
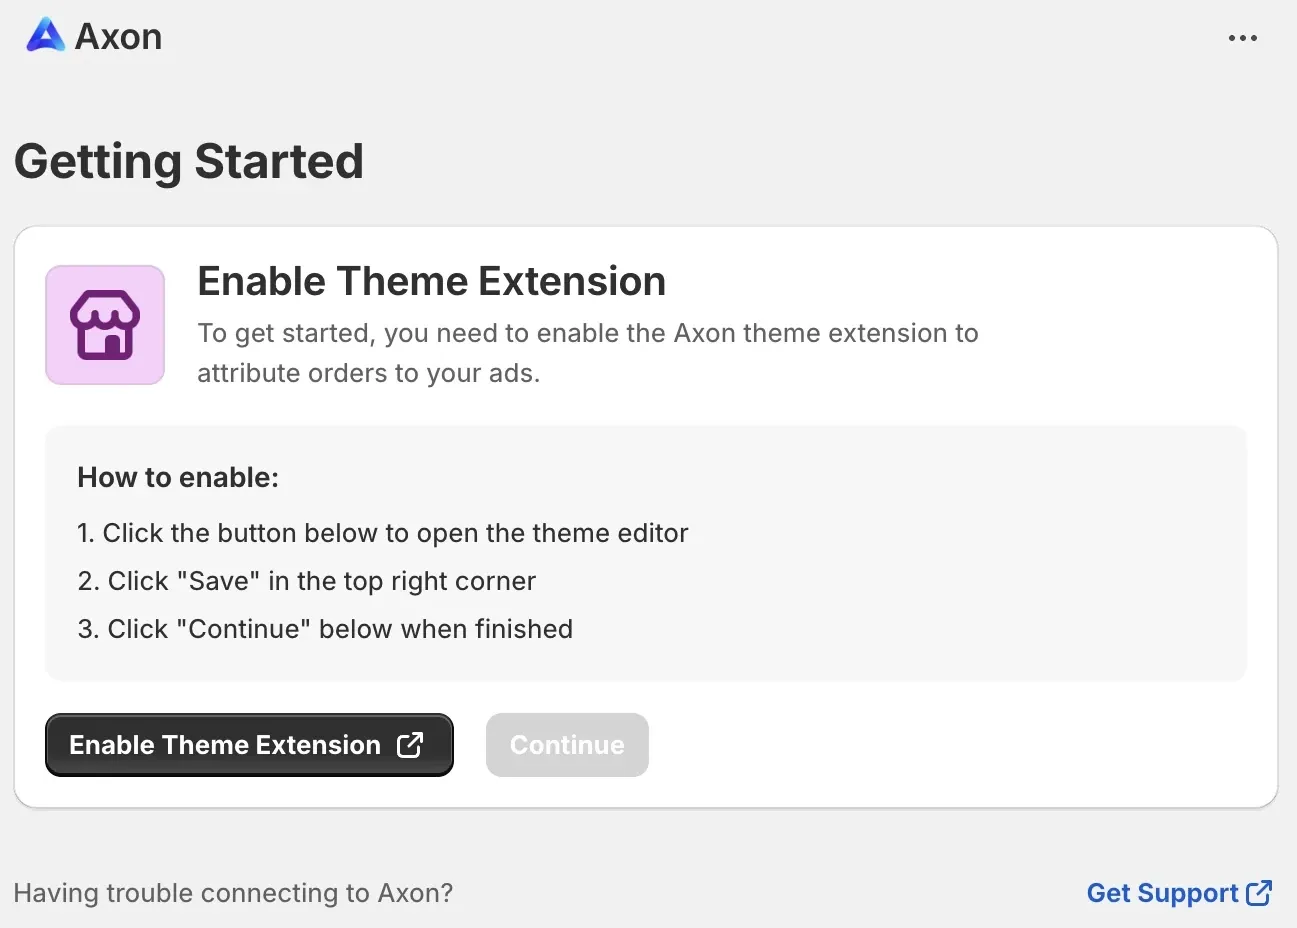
点击 <UILabel>Enable Theme Extension</UILabel>。
-
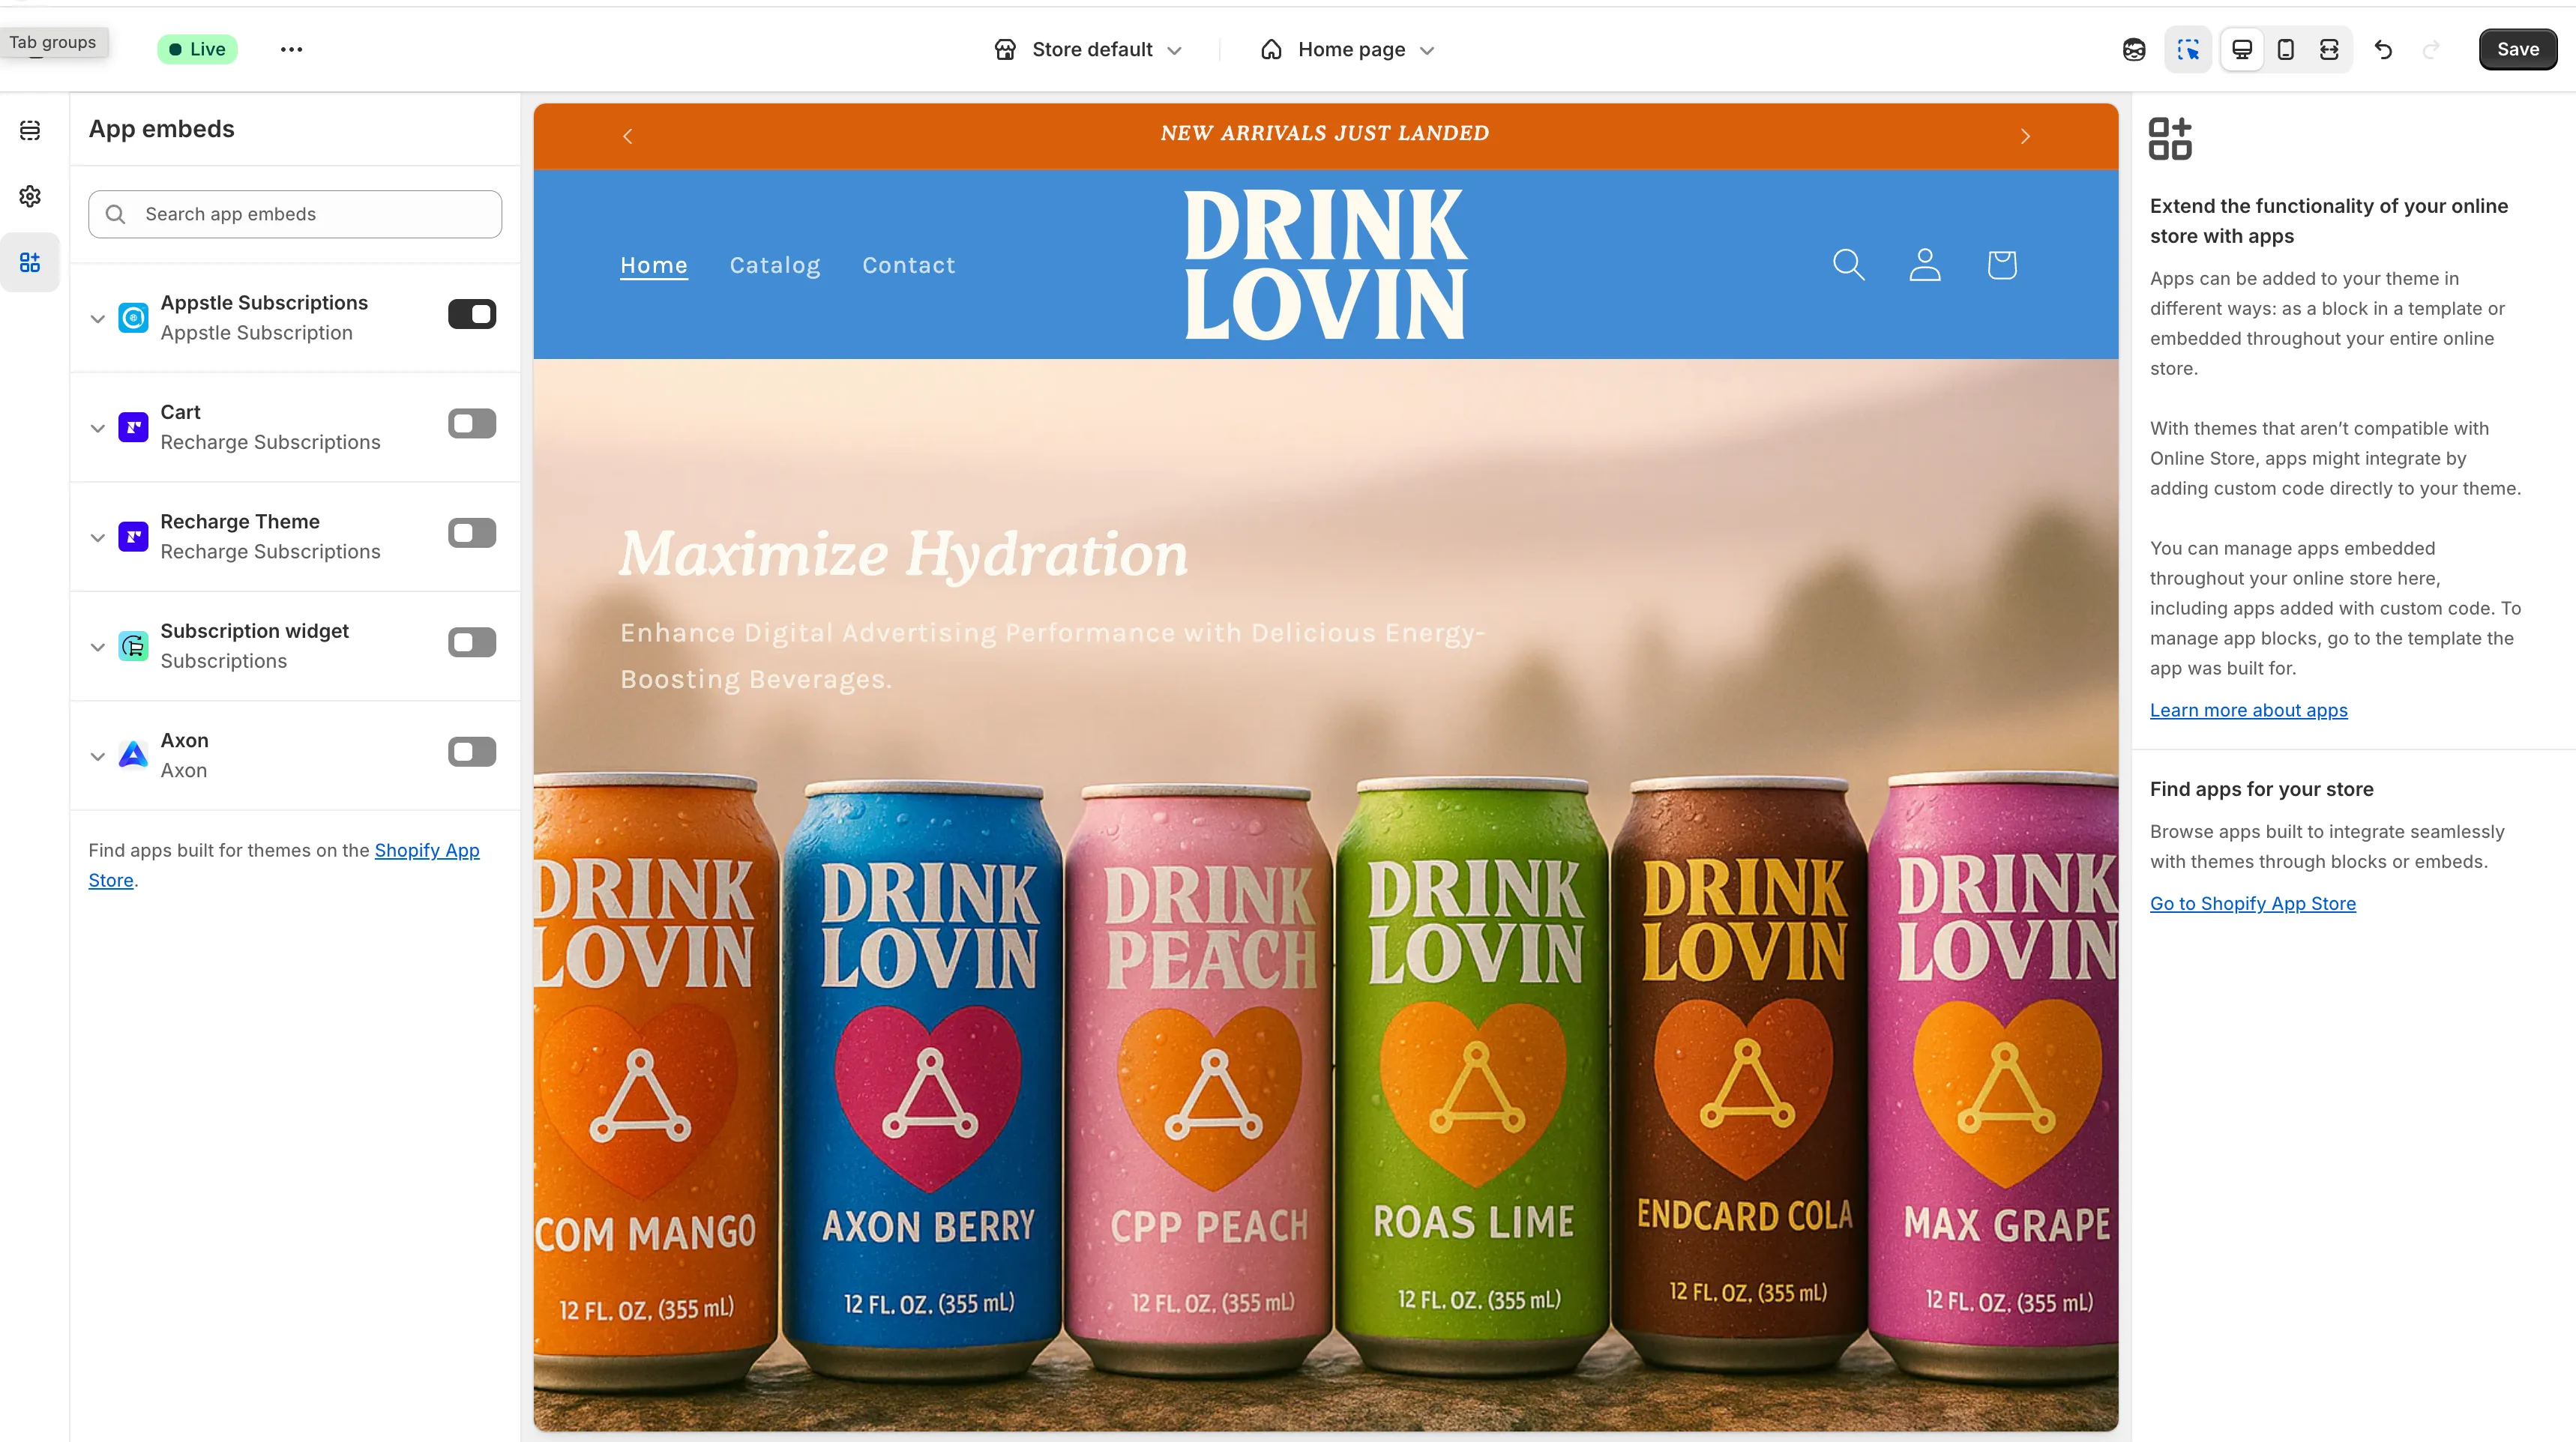
点击 <UILabel>Save</UILabel>。
-
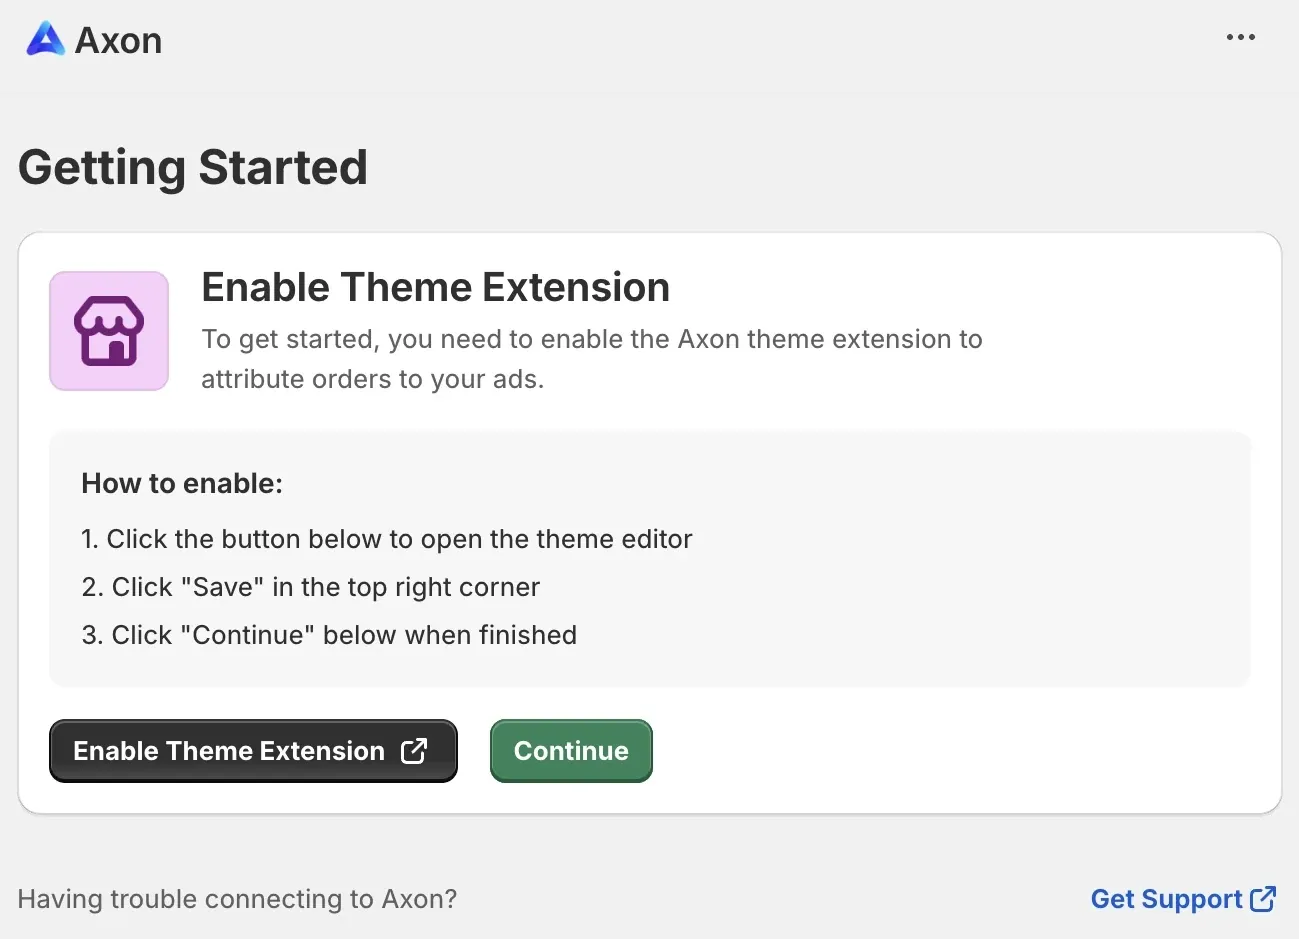
点击 <UILabel>Continue</UILabel>。
-
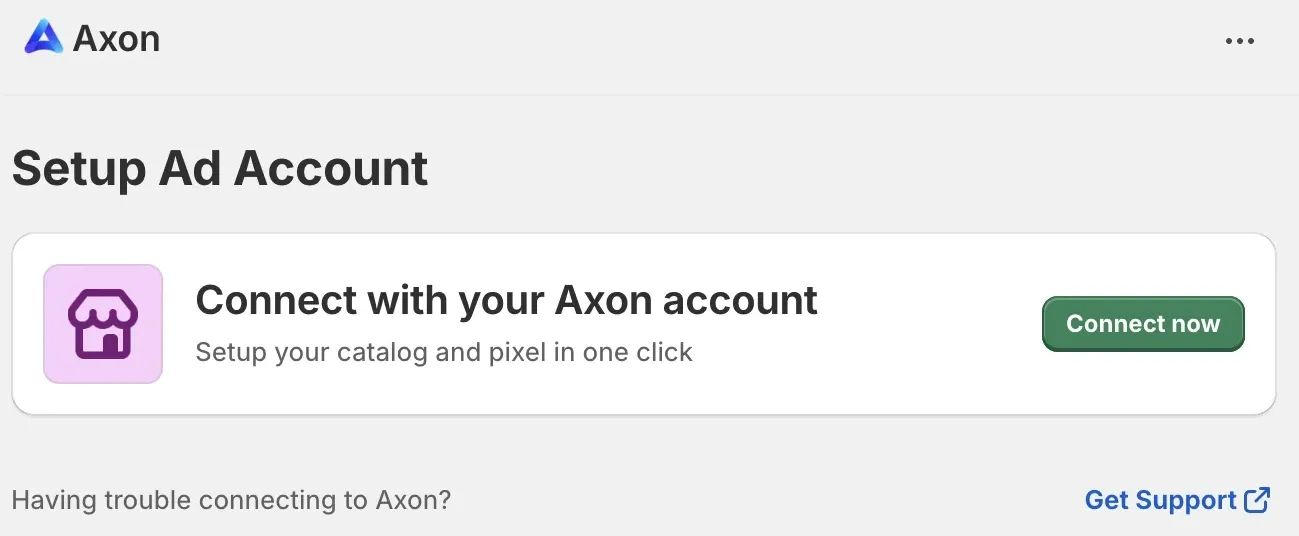
点击 <UILabel>Connect now</UILabel>。
-
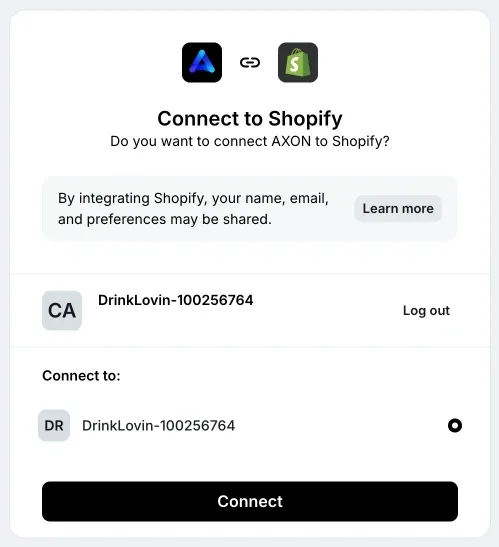
选择您的账户,然后点击 <UILabel>Connect</UILabel>。
-
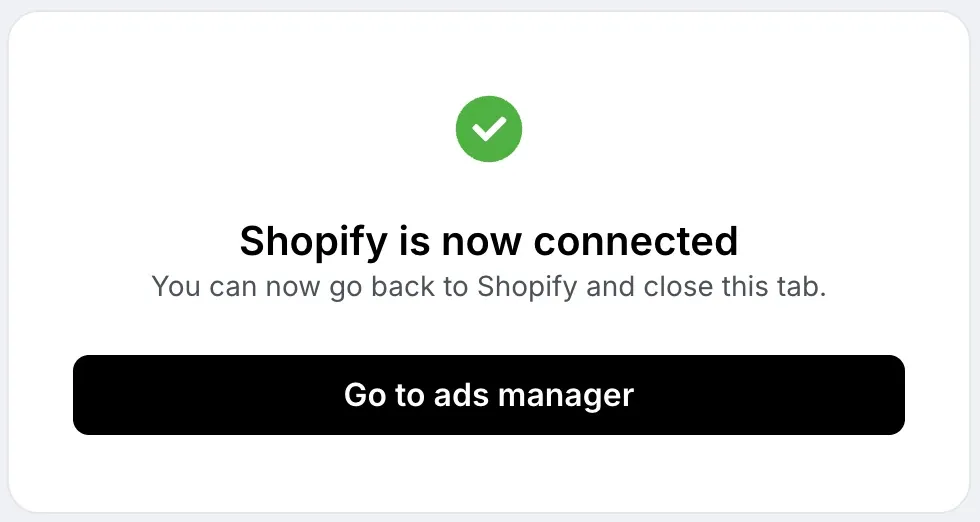
您现已完成集成。